Showing posts with label accessories. Show all posts
Showing posts with label accessories. Show all posts
Saturday, January 19, 2013
Newsprint Nail Art Tutorial
I've always wanted to do those fancy nail polish designs, but, clumsy as I am, I normally just ended up with giant blobs on my fingernails. And then I found this tutorial. It's easy, requires little skill and few supplies, and actually turns out looking pretty good. It's a bit more time consuming than a solid color polish, but maybe I'm just impatient.

Sunday, January 6, 2013
DIY Necklace!
 I've liked making jewelry for quite some time, but I have a confession to make: all I really do is buy pendants and put them on chains. Until now, that is.
That's right, I made this. It may be a little rough and derpy-looking, for lack of a better description, but I've got to start somewhere, and this is the first time when, in a metalworking class I'm taking, I've had the materials and knowledge to make something like this.
The eye in the center is fused glass, a process which took a great deal of cutting glass with an annoyingly dull knife and sending little shards everywhere. The pendant itself is from cut sheets of steel and copper. I cheated and used a manufactured chain and gears.
Monday, October 8, 2012
Scrollwork Ring Tutorial
 A very simple ring that I designed for a jewelry making class, inspired by the ironwork gates of Victorian manors. This takes only a few minutes and supplies that can easily be found at a craft or hardware store.
1. Cut a length of wire (approx. 12 gauge) about 2 inches long. Exact length, of course, will vary depending on the size of your finger, so you may have to do some trial and error.
2. Use a pair of pliers to bend the ends of the wire into two spirals. To do this, curl the tip of the wire into a small hook, steady it with the pliers, and curl the wire around it. The two spirals should be pointed in opposite directions.
3. Curl the ring around a ring mandrel or other ring-sized cylindrical object that you find lying around the house. Gently pounding it into place with a wooden mallet will help it form a more geometric ring shape.
Monday, August 27, 2012
Easy Mini Top Hat Tutorial
Having received a surprise invitation to a convention in less than a month, I found myself in need of something outrageous and awesome to wear, and fast. So of course I went for a mini top hat.
I ended up getting caught up in the creation process and taking fewer pictures than I should have, so please let me know if this makes no sense.
You will need: An empty cereal box
A disposable cup
A hot glue gun
Some fabric (I up-cycled from an old shirt)
A ribbon

1. Cut two circles, about 1.5 inches larger in diameter than the disposable cup. Glue the two circles together to make a sturdy base for the top hat.

2. Cut a piece of fabric around the cardboard circle. Place the cardboard in the center and fold in the fabric so it wraps around both sides of the cardboard, with the gathering point in the middle. Glue it into place.

3. Trace the open end of the cup onto the cardboard. Cut out the resulting circle and cover it with fabric using the same method as in the base.

4. Cut a large rectangular piece of fabric and wrap it around the cup so that the sides are covered. Glue the bottom of the fabric-wrapped cup to the top of the base.

5. Glue on the top portion of the hat. Tie a ribbon around the point where the base and cup meet to hide any drippings of glue, and, if desired, adorn it with feathers, pins, or whatever else you'd like.
6. Glue it to a headband, ribbon, hair clip, etc, to keep it securely in place. It also makes a nice decoration for a steampunk-themed room.
I ended up getting caught up in the creation process and taking fewer pictures than I should have, so please let me know if this makes no sense.
You will need: An empty cereal box
A disposable cup
A hot glue gun
Some fabric (I up-cycled from an old shirt)
A ribbon
1. Cut two circles, about 1.5 inches larger in diameter than the disposable cup. Glue the two circles together to make a sturdy base for the top hat.
2. Cut a piece of fabric around the cardboard circle. Place the cardboard in the center and fold in the fabric so it wraps around both sides of the cardboard, with the gathering point in the middle. Glue it into place.
3. Trace the open end of the cup onto the cardboard. Cut out the resulting circle and cover it with fabric using the same method as in the base.
4. Cut a large rectangular piece of fabric and wrap it around the cup so that the sides are covered. Glue the bottom of the fabric-wrapped cup to the top of the base.
5. Glue on the top portion of the hat. Tie a ribbon around the point where the base and cup meet to hide any drippings of glue, and, if desired, adorn it with feathers, pins, or whatever else you'd like.
6. Glue it to a headband, ribbon, hair clip, etc, to keep it securely in place. It also makes a nice decoration for a steampunk-themed room.
Friday, August 10, 2012
Nautical-inspired Necklace Tutorial
This is a necklace that can be made with fairly basic materials. I think it has a Twenty Thousand Leagues Under the Sea-esque look, but different colors of beads and chain could be used to create a variety of styles.
 1. Start with a length of chain long enough to fit loosely around your neck. Jewelry-making chains from craft stores tend to be easiest to work with, but other kinds will work, as well.
 2. Use two pairs of pliers to pry apart the last link of chain. Hook it onto a clasp, and use the pliers to close it again. Do this for both ends.

3.Arrange the beads next to the chain, varying them by color and size.

4.Cut a length of copper wire, about 1-1.5 inches long. Use a pair of pliers to curl one end of the wire into a hook.
5. Hook the wire onto a link of chain, and continue curling it until it makes a loop.

6.Put a bead on the open end of the wire, and curl the end to hold it in place.

5. Repeat this process until you have a bead attached every few links across the entire chain, using varying lengths of wire to create a wave-like effect.
1. Start with a length of chain long enough to fit loosely around your neck. Jewelry-making chains from craft stores tend to be easiest to work with, but other kinds will work, as well.2. Use two pairs of pliers to pry apart the last link of chain. Hook it onto a clasp, and use the pliers to close it again. Do this for both ends.3.Arrange the beads next to the chain, varying them by color and size.
4.Cut a length of copper wire, about 1-1.5 inches long. Use a pair of pliers to curl one end of the wire into a hook.
5. Hook the wire onto a link of chain, and continue curling it until it makes a loop.
6.Put a bead on the open end of the wire, and curl the end to hold it in place.
5. Repeat this process until you have a bead attached every few links across the entire chain, using varying lengths of wire to create a wave-like effect.
Tuesday, June 26, 2012
Ribbon Choker Tutorial
So
since I was gone all last week, I’m doing more posts than usual for a little
while. Here’s a tutorial for a basic choker made from a ribbon. I like to think
of this as the neo-Victorian equivalent of the punk dog collar. It’s quite
versatile and looks great when layered with a pendant or longer necklace.

1. Cut a piece of ribbon about two
inches longer than the circumference of your neck.

2. Fold over the end of the ribbon.

3. Push down on the fold to make two flaps

4. Sew it down, making sure to
leave the two flaps separate. Iron them flat.
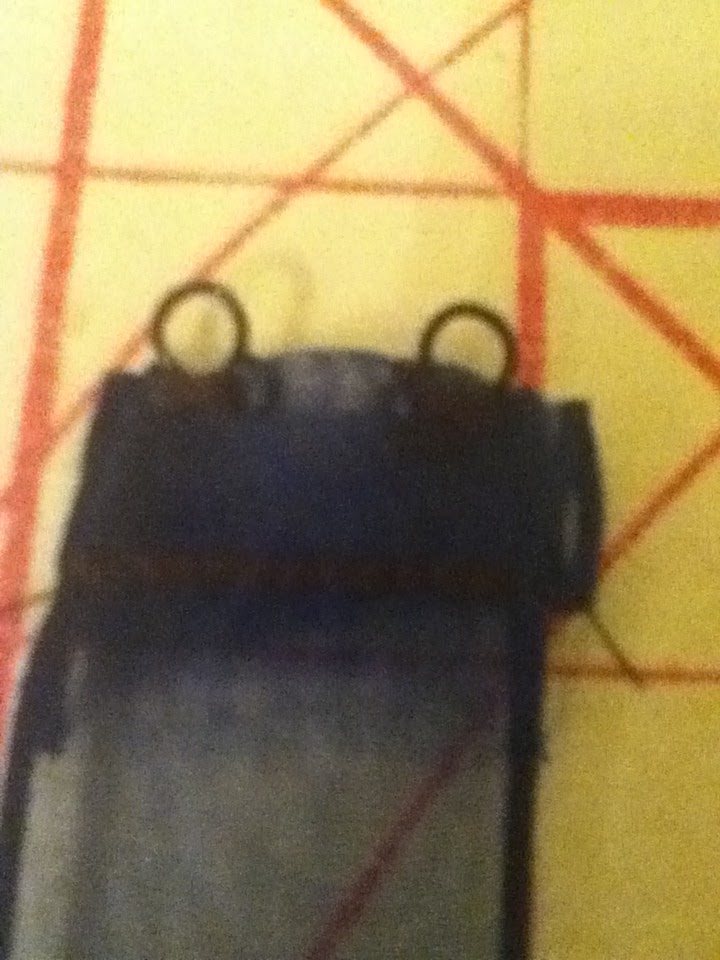
5. Repeat steps two through four on
the other end.
6. Place the two hook clasps between
the flaps on one end and hand sew into place. Repeat on the other end with the
eyes.
7. Sew on any ornamentation, beads, etc, if desired.
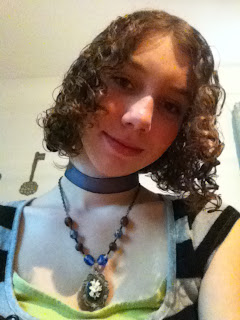 |
| Here's a finished one, layered with a cameo necklace. |

Subscribe to:
Posts (Atom)